Want to make your GoPro clips look more stunning and awesome? Having a great scene and action camera is nice, but you might also need some of these important tips about GoPro Hero 10 cinematic settings.
Some product links in this post are affiliate links, and VidProMom will be compensated when you make a purchase by clicking our links. Read my disclosure policy here.
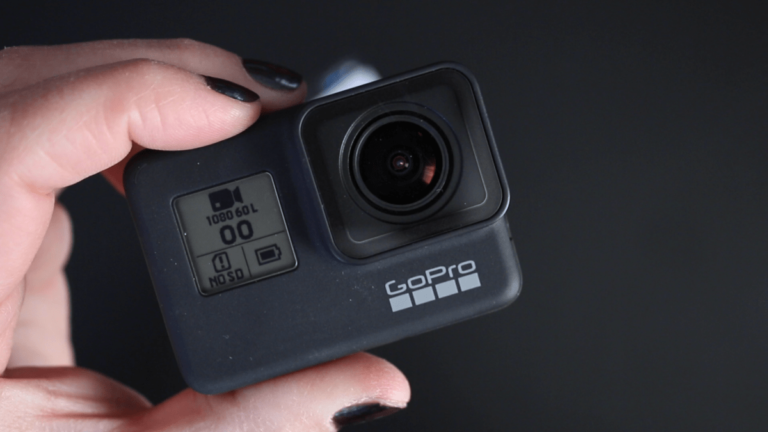
GoPro Hero 10 Cinematic Settings
Now that you’ve got your hands on the newest GoPro action camera model, you might want to start tweaking some of the features and settings of the new GoPro Hero 10. However, it’s not that simple and easy. There are some settings that are fit on a certain scenery but not on another.
For example, your GoPro settings for your basketball clips might not be the best settings for capturing beach/water activities. With that, this blog is to give you some tips about the INs and OUTs of GoPro Hero 10 settings to achieve the quality that you want.
Is There an Automatic Settings/Mode For Cinematic Shots in GoPro?
/cdn.vox-cdn.com/uploads/chorus_asset/file/22851868/bfarsace_210909_4746_0005.jpg)
The straightforward answer is NOT REALLY. There is no feature in GoPro to automatically configure your settings to have a cinematic shot. Actually, there is a “Cinematic Mode” in GoPro, but some people are really confused as to what it is. Don’t mistake it as an actual mode that you just turn on. Then, suddenly all your clips would magically look cinematic.
According to this thread in GoPro’s official community forum, the cinematic mode is just simply the name of a video preset. You might still need to do some adjustments to it every time you shoot to achieve a quality video. However, there are some people who just stick to one setting for most of their videos, so they don’t need to adjust it most of the time.
As mentioned earlier, there are some activities or scenes that might require you to tinker with the settings in order to achieve the best quality. But if you only shoot the same scenes or activities most of the time, then maybe you don’t need to change settings often. You can use our guide and tips below on how to find the right presets for your GoPro!
Related: Remove GoPro Fisheye Effect in Adobe Premiere Pro
Hero 10 Photo Presets
Default Settings
From the name itself, the default preset is the most common preset to use for taking images. It uses an image processing called SuperPhotos to capture still shots on your GoPro by simply pressing the shutter button once.
Burst
GoPro’s Burst mode, as we know, lets you capture a series of shots after you press the shutter button. This is best used for capturing fast-action shots that are very hard to perfectly time the shot on a normal capture mode. This preset can shoot at a maximum of 25 photos in just a second!
LiveBurst
The LiveBurst mode is one of GoPro’s cinematic settings that can help you capture a burst of photos before and after the shutter button was pressed at a certain duration. This mode can help you find the best cinematic shot in those burst of photos, but you can also make it a short video. This mode is captured at 12MP.
Night Mode
Of course, people already know that Night mode GoPro cinematic settings are used for nighttime shooting. But what this preset specifically does is that it adjust the shutter speed of your GoPro. This enables more light to pass through your action camera. However, this preset is not very effective for mounted or handheld shots when the camera is moving.
Hero 10 Video Presets
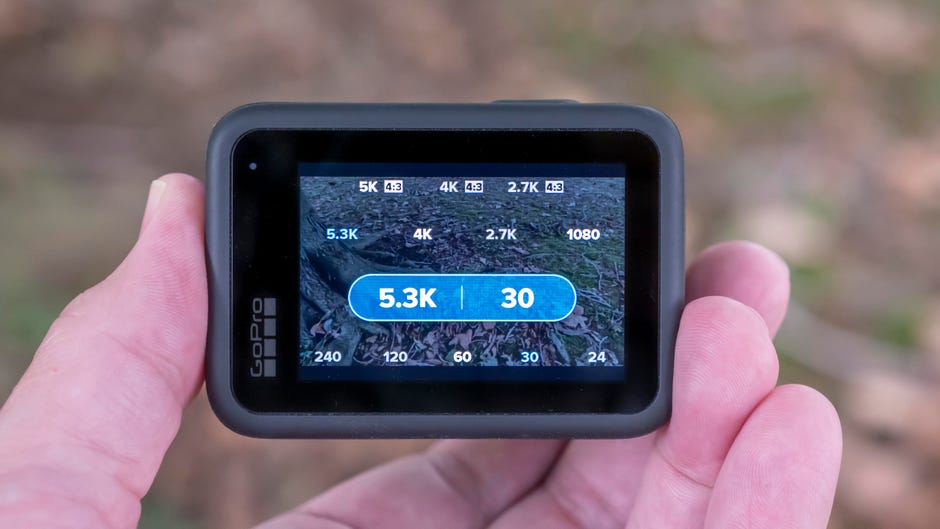
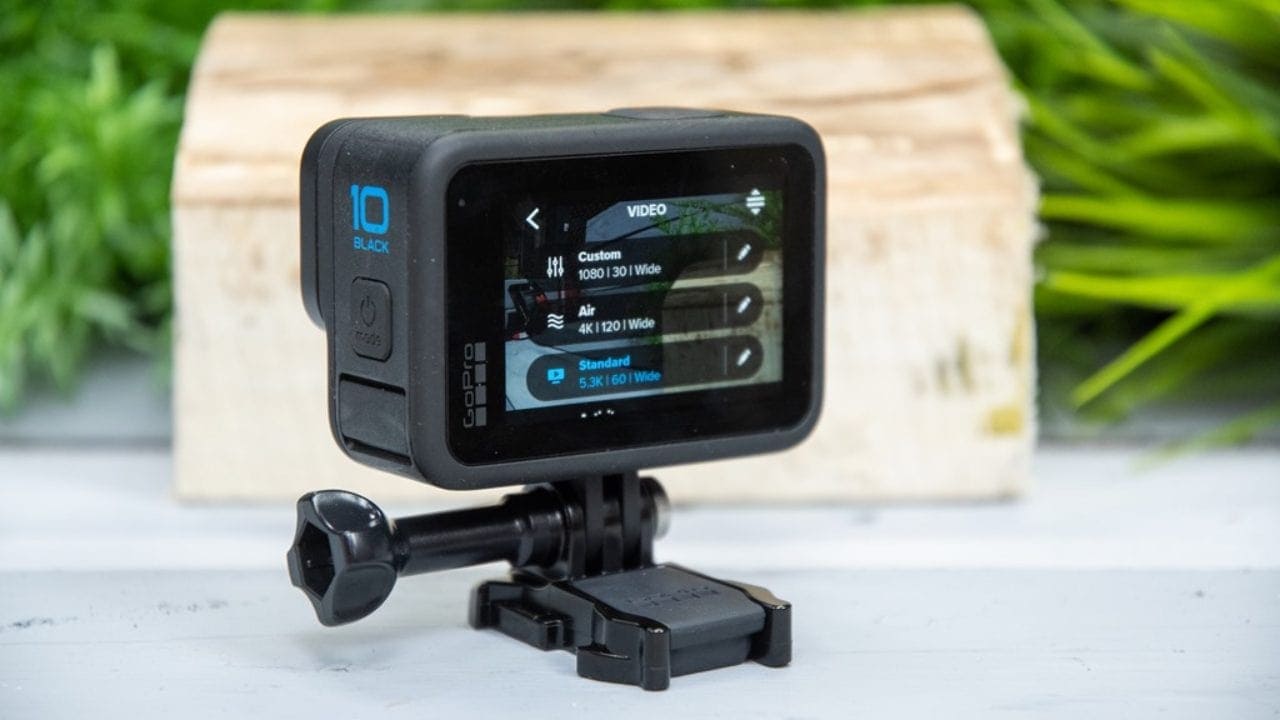
Standard Preset
This is the default preset selected when shooting videos in your GoPro. As mentioned, these presets can still be modified and altered according to your preferences. But in case you want to go with the default, this preset shoots at 4K resolution at 30 frames per second. The lens is also set to wide capture.
Cinematic Preset
The cinematic preset by GoPro is a guide to make your GoPro clips look and feel more cinematic. The default settings for this preset is 5.3K Resolution video at 30 frames per second. It also uses an amazing lens feature called the Linear+ Horizon Leveling for a smooth fish-eye effect in your GoPro footage.
Activity Preset
This preset is best used if you want to achieve an immersive quality shot of your activity using GoPro. The default settings for this preset also use high-resolution and full-screen playback for your clips with 4K resolution at 60 frames per second. It also uses a digital lens feature called the SuperView for a wide-angle perspective.
Time-Lapse Presets
TimeWarp (Default Preset)
Timewarp is known as a default preset. It is the most simple and common time-lapse mode for the GoPro Hero 10. It is able to capture ultra-smooth time-lapse videos even while the holder is moving. If you are up for some mountain bike runs or hiking, this preset is the perfect option.
Videos are filmed at 1080p using some Wide digital lens and for better performance and results, the camera naturally adjusts your capture speed. Your TimeWarp can also be slowed down to real speed or half speed with an option called Speed ramp.
Night Lapse
As the name suggests, Night lapse is targeted towards taking time-lapse video in dark areas or with low-light environments. This mode can capture better in the dark because the camera automatically adjusts the shutter speed, with this, more light is let in and intervals are picked only to show the successful results. Night lapse is recommended to be used when the camera is still and not for handheld, mounted moving shots and only for stationary shots.
Time-Lapse
Likewise with Night lapse, time-lapse is recommended to be used for when the camera is still and not moving. Using the time-lapse mode, a shot is captured every 0.5 seconds at 1080p using its Wide digital lens. This mode is typically used for scenes and shots that set out for long periods of time some of which are sunsets, street scenes, art projects, and more.
Related: Best Action Cameras Under $400